

It’s that time again, the second
Thursday of the month, which means it’s the Stylin’ Stampin’ INKspiration
monthly blog hop and this month it’s all about pumpkins. You can’t get too far these days without
seeing everything pumpkin, even Aidan’s commented on the whole pumpkin craze
may be a bit overboard but since it’s fall we’re embracing all the fun. The design team has once again outdone themselves
and there are lots of great ideas.
As you hop along, please be sure to comment and show some love on every blog! We are always excited to hear from our followers! You should have just left stop number 2 at Cynthia at Ink-A-Doodle Creations. If so, you are in the right spot. If the link doesn't work or you get off track, you will find the full blog hop lineup below.
Today
I’m sharing two projects I made a card and then a 3D item (perfect for your
mantel or other décor piece).
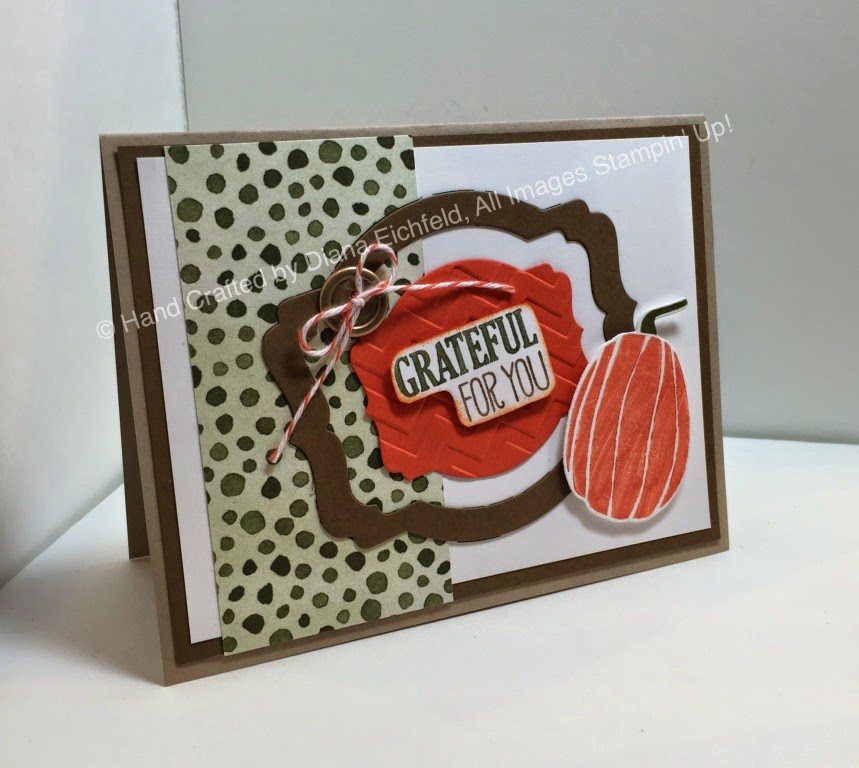
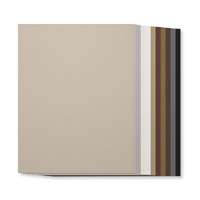
For the card I started with Sahara
Sand for the cardbase and then layered Soft Suede and Whisper White before
adding a strip of Color Me Autumn
Designer Series Paper. I used the Deco Labels Framelits and the Big Shot to cut out both the frame
element (in Soft Suede) ( used the 2nd and 3rd frames and
layered them together to cut the frame out at once). Then I used the smallest framelit and
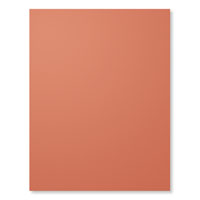
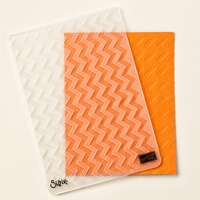
Tangerine Tango cardstock to cutout the insert before embossing it with the Chevron Embossing Folder. The greeting is from the For all Things stamp set and was inked with Stampin’ Write Markers before cutting them out with Paper Snips (I sponged around the edge
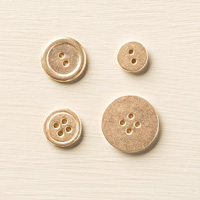
with Tangerine Tango Ink to soften the edges and attached it with dimensionals). I added one of the fun new Gold Buttons that has Tangerine Tango Baker’s Twine tied in a
knot for some bling. For the pumpkin I
used the Fall Fest stamp set and
inked it with Stampin’ Write Markers
and then cut it out with the Big shot
and Fall Fun Framelits. A dimensional
helps attached the pumpkin to the card so it has some extra dimension.
For the second project I decided to
make a 3D paper pumpkin. This is an oldie
but goodie and is

I hope you enjoyed today' projects, you can click the "Next" button below to continue along the hop to Donna's blog and she what she's sharing.

Blog Hop Participant List:
- Jennifer at Happy 2 Scrap 4 Life
- Cynthia at Ink-A-Doodle Creations
- Diana at Stampin' Fun with Diana
- Donna at Organized Chaos
- Darcy at Dj's Stampin' Place
- Erica at Stamping Starlette
- Tonya at Stamp with Tonya
- Bree at Craft-Somnia Momma
- Kim at Stamping with Kim


So stinking cute!!!!!!!
ReplyDeleteSuper cute card and I love that paper pumpkin!!! I'm on pumpkin overload this morning ;)
ReplyDeleteDiana, i'm always blown away with your simple but awesome projects. I love the different layers in your card and the 3d pumpkin, well its just super cute!!!
ReplyDeleteThose pumpkins would be great placecards at Thanksgiving dinner! Love them!
ReplyDeleteLove your card, love your 3D pumpkin! Both are amazing and ADORABLE!!!
ReplyDeleteYour 3-D pumpkin is fabulous!!!
ReplyDelete