I started with Soft Sky cardstock for the
cardbase and then added a layer of Early Espresso Cardstock that was a mat for
my whisper White cardfront. I decided to
use the technique I showed previously to create a cloudy background by sponging
with Soft Sky ink and using the Tree
Builder Punch as the mask, see original post HERE. Along the bottom of the cardfront for the
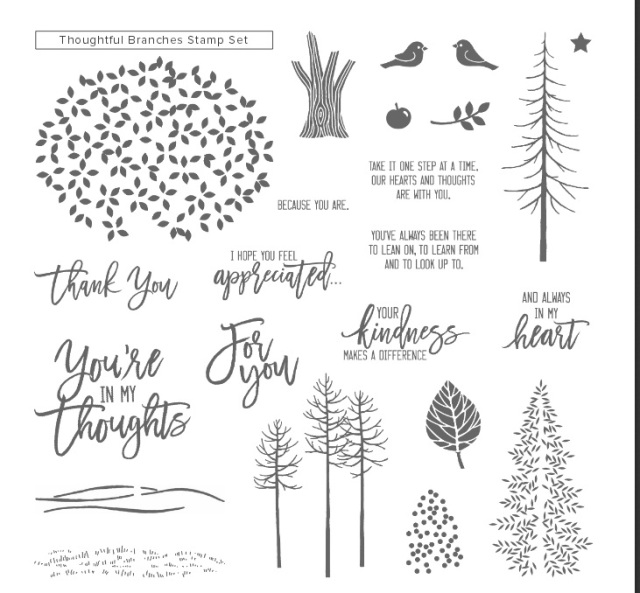
grass I used the Work of Art stamp
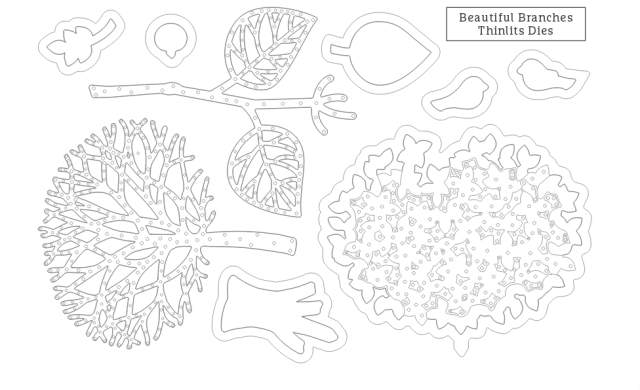
set and Wild Wasabi ink (of various strengths to add some dimension). The base of the tree was cut using the
framelits and Early Espresso cardstock. The leaves are on Whisper White
cardstock with Wild Wasabi ink before being cut out (these framelits make these
intricate cuts a breeze! I added some
apples and a bird using Cherry Cobbler to the tree with dimensionals for some height.
I used a tiny pearl for the
eye of the bird for a fun touch. A piece
of 1/8” Gold Ribbon was tied into a
bow and glued to the base of the tree (reminds me of the song around tying a
yellow ribbon around an old oak tree).
The greeting is the same stamp set and was stamped
with Cherry Cobbler ink on Whisper White cardstock. The top greeting was cut out with the Big Shot and Layering Ovals Framelits, along with the Early Espresso scalloped
oval for the mat. The rest of the
greeting at the bottom was punched out with the Classic Label Punch and trimmed along the right side.I had so much fun playing with this bundle and making the fun background I can’t wait to use it some more and will be sharing some additional ideas soon to tempt you.
Below
are easy ordering links to the products used on today's card:
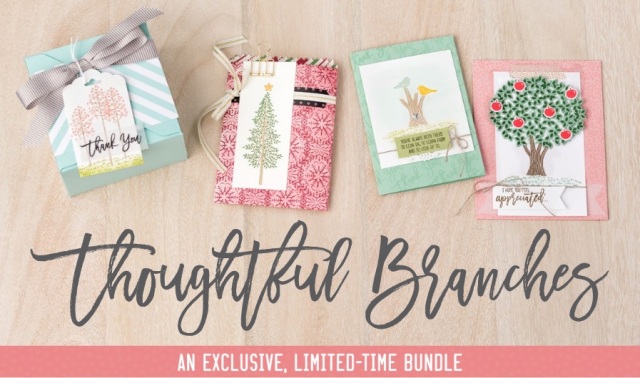
Here's all the details on this great bundle, don't miss out!!
With coordinating Thinlits Dies
To print the flyer, click HERE

See the Pinterest Board SU created for this fun
set here:
Have a great weekend!
Diana


Such a beautiful card!! Very colorful! Love the clouds & all the details!
ReplyDelete